SteamVR
Installing and setting up SteamVR support
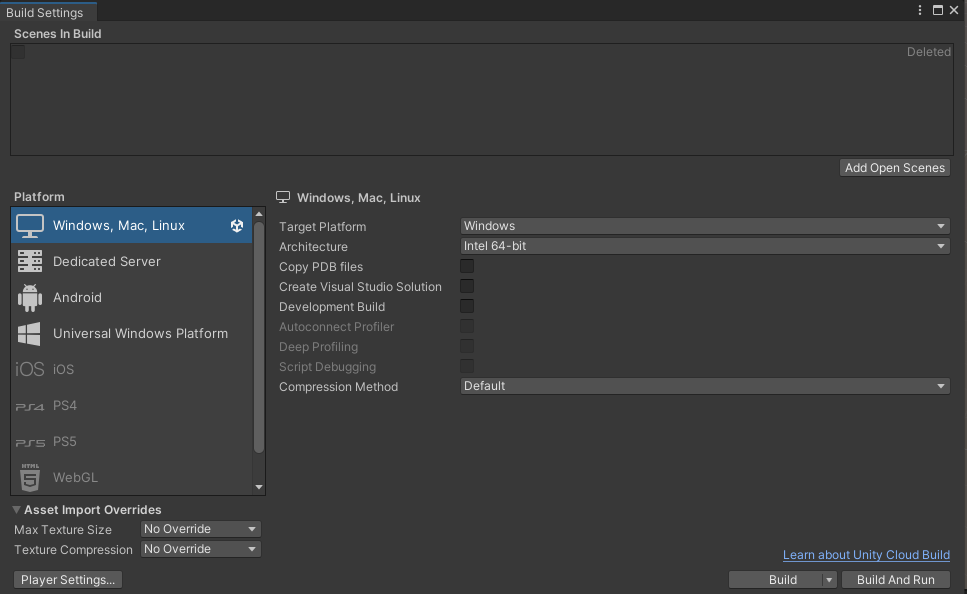
Make sure your project is currently targeting desktop in File -> Build Settings.
Open the UltimateXR SDK Manager using Tools -> UltimateXR -> SDK Manager.
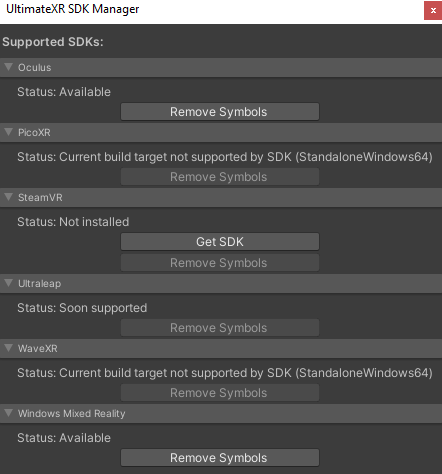
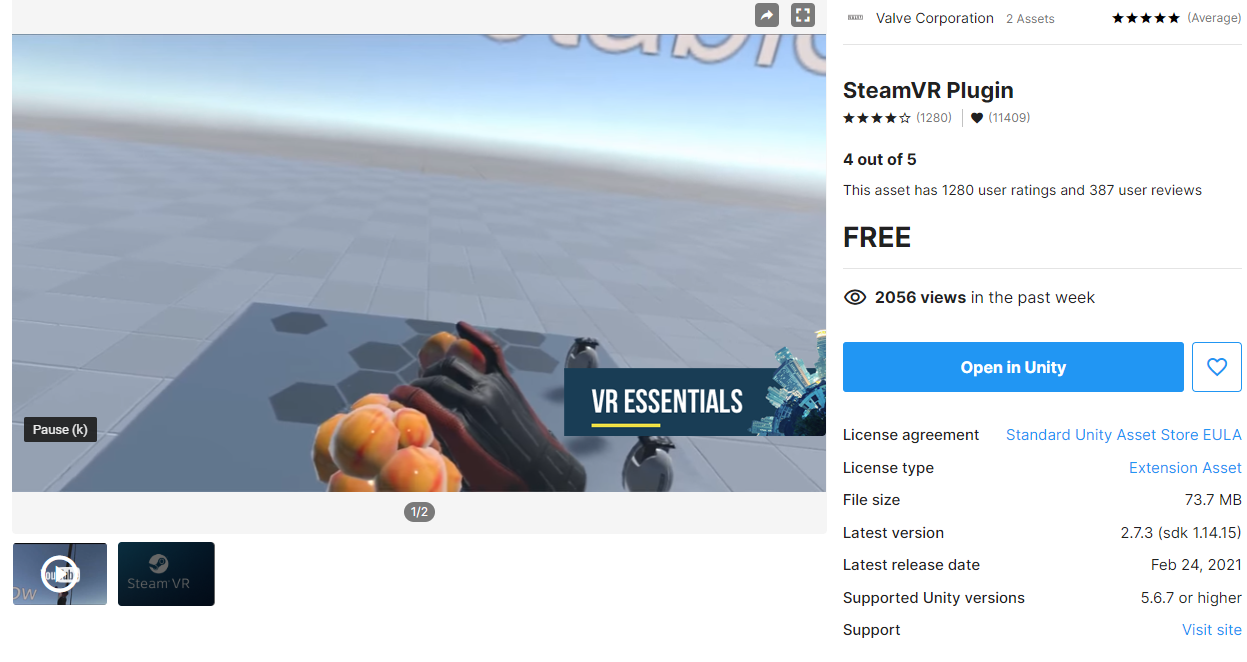
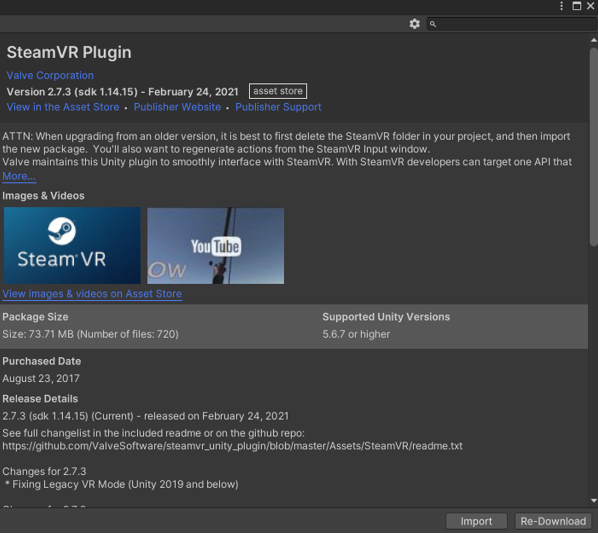
Press the Get SDK button under the SteamVR section. This will open the Asset Store. Select Add to My Assets to add it to your Unity assets.
Now open the Package Manager using Window -> Package Manager. Select My Assets.

Import the SteamVR plugin
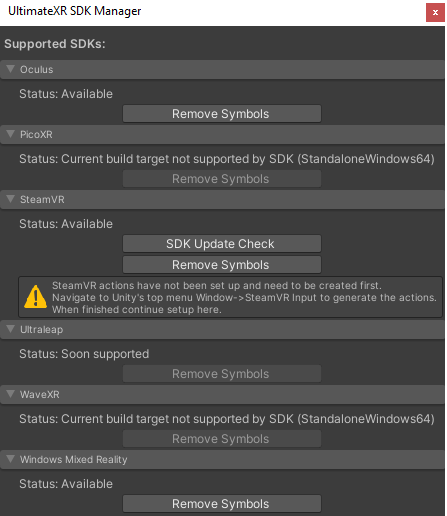
Go back to the UltimateXR SDK Manager. If everything went correctly the SteamVR section will show that the SteamVR actions need to be generated.
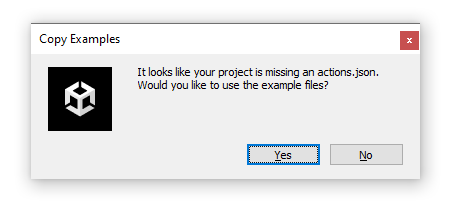
Open Window -> SteamVR Input. SteamVR will request permission to generate an actions file. Click yes.
Going back to the UltimateXR SDK Manager the SteamVR section will now show the option to create the UltimateXR actions. The UltimateXR actions will allow to use the input module with SteamVR. Click on Create Actions.
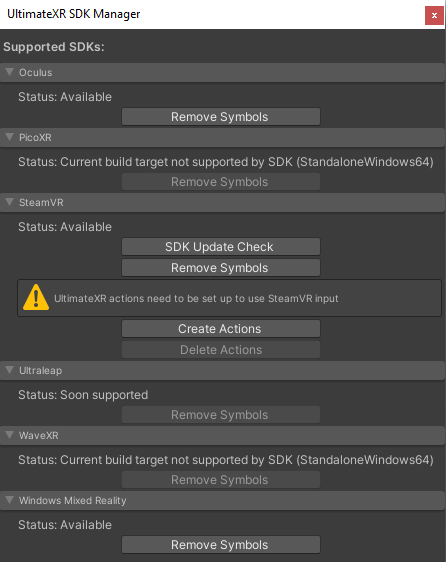
After some processing the SDK Manager should now show the following state:
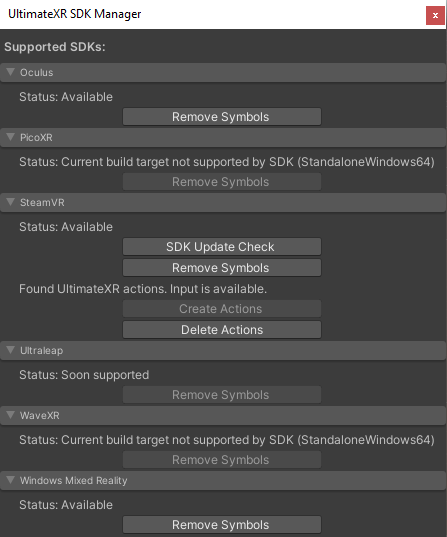
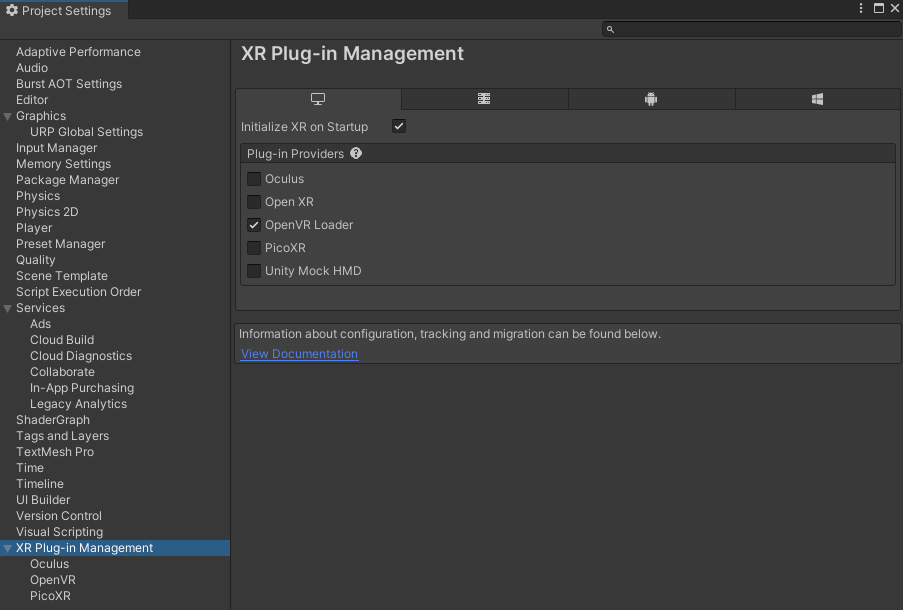
The last step is to enable the OpenVR plugin, which is the one used by the SteamVR SDK. Open Edit -> Project Settings and check the OpenVR plugin provider under the desktop section.