Oculus
Installing and setting up Oculus support
Open the UltimateXR SDK Manager using the menu Tools -> UltimateXR -> SDK Manager. Click Get SDK under the Oculus section. This will open the link to add the Oculus Integration to your assets:

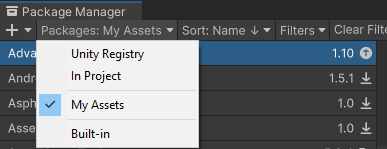
Now go back to Unity and open the Package Manager using the menu Window -> Package Manager.
Select “My Assets” from the top drop-down window:
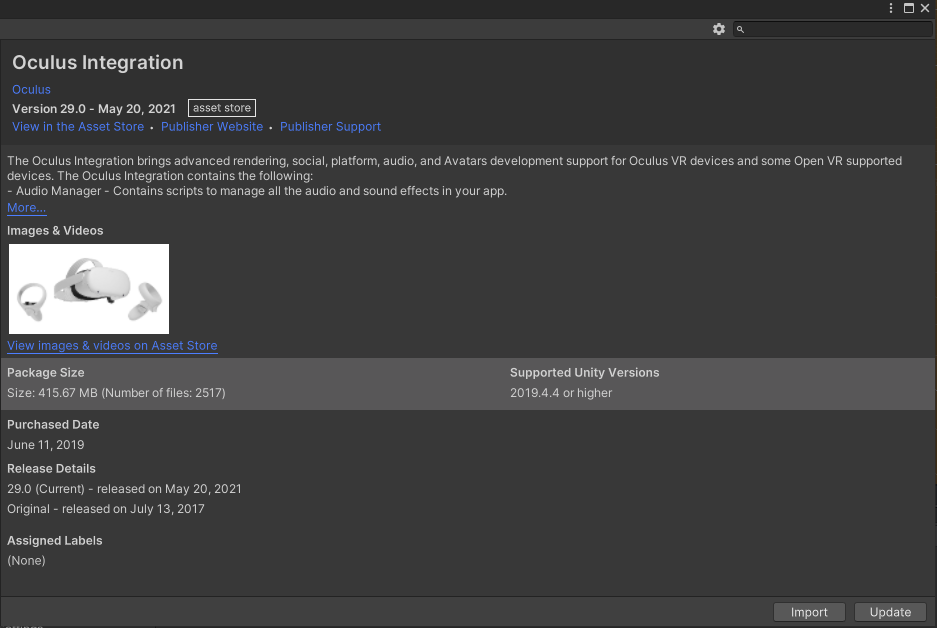
Now navigate to the Oculus Integration asset and select Import. After importing Oculus may ask you to update.
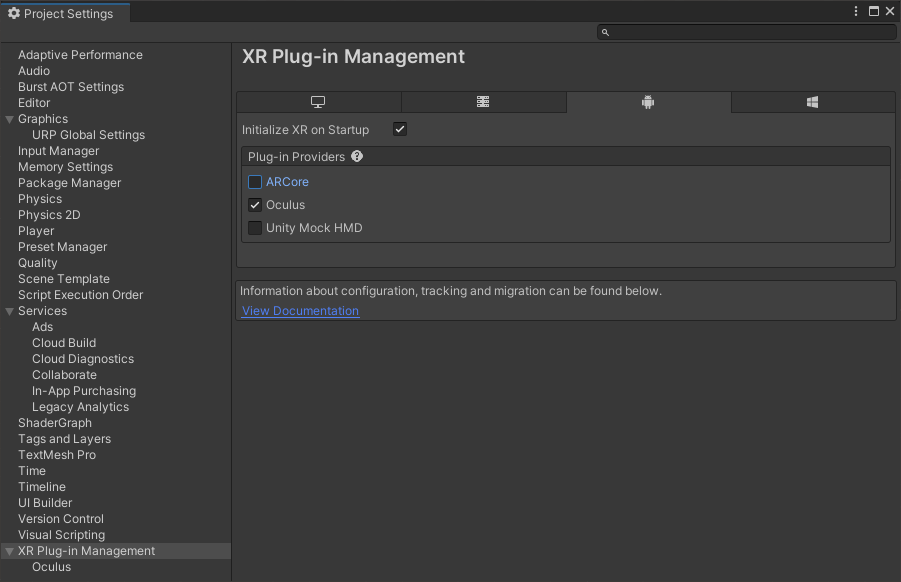
Now go to Edit -> Project Settings and enable Oculus support in the desktop platform. Also check Oculus support in the Android tab if you plan to create builds for Quest:
Creating a build for Oculus Quest
Switch your platform to Android using File -> Build Settings.

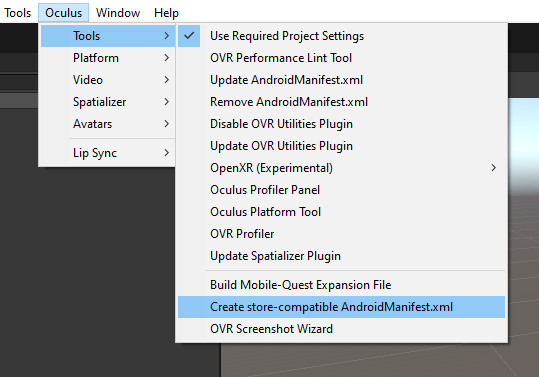
Create a compatible Manifest file using the Oculus menu on top.
Now create the .apk file for Android using File -> Build Settings -> Build
Note: Build and run may give shader errors on some configurations. If this is the case, use Build instead and use adb -install file.apk to install it on your device.
For detailed help regarding building and running Oculus apps using Unity please check https://developer.oculus.com/documentation/unity/unity-build/